ClearlyIP’s Tips and Tricks
Did you know you can bulk upload multiple dispatchable locations using a .csv file?
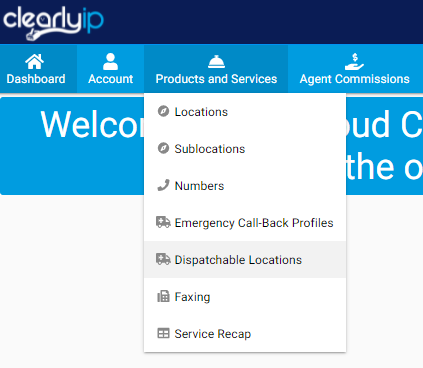
- Log into your trunking account and go to “Products and Services”, “Dispatchable Locations”
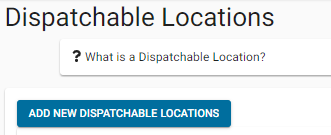
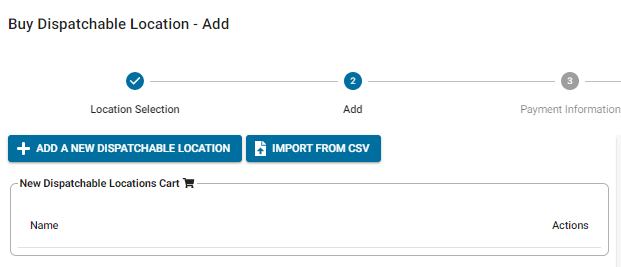
- Click on the blue “Add New Dispatchable Locations” button
- Select the location you are adding from the drop down and hit “Next” at the bottom.
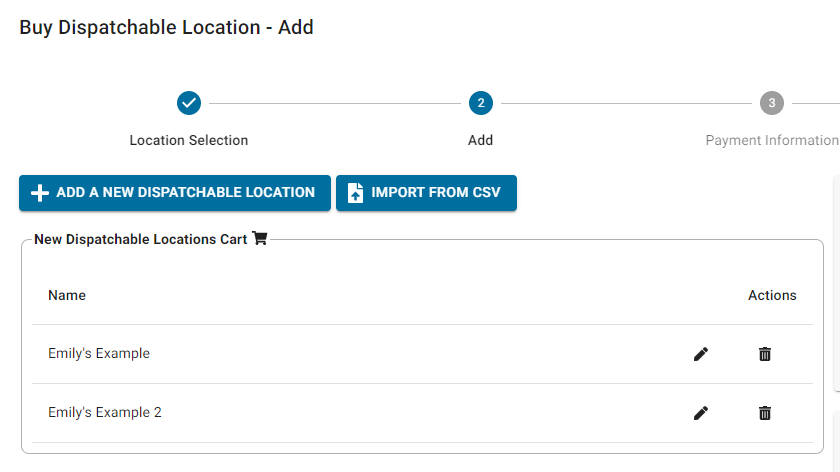
- Next to the new blue “Add New Dispatchable Location” button, click the button that says “Import from CSV”.
 .
. - This will take you to a new popup window where you can download an example CSV file to edit with the data you are looking to import.
- Click on the blue “Example CSV File” button and it will automatically download it and open it in Excel for you.
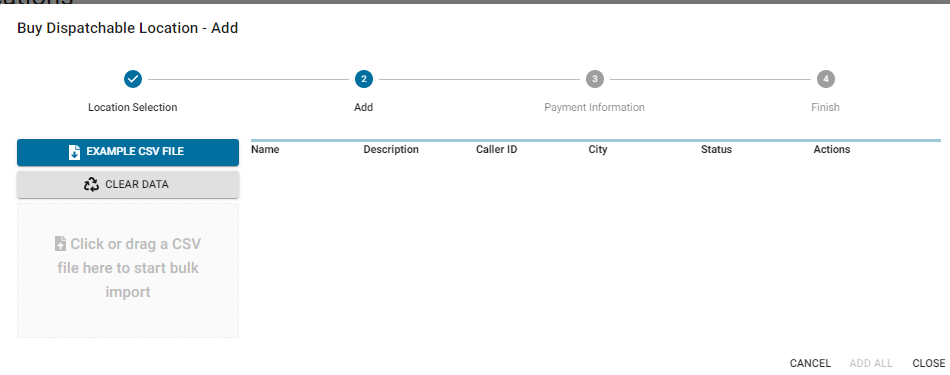
Note: The field at the top labeled callerid is not the caller ID or phone number of the customer, but the custom 6 digit caller ID that will work with the call back profile 4 digit prefix to display the correct information to the 911 dispatcher. Use a random 6 digit number. - Once you have them all listed as you like, save the file and go back to the trunking store window. Click on the space where it says in grey letters, “Click or drag a CSV file here to start bulk import” this will open up a document pop up. Select the file you just saved and click “Open”. This will start loading in all the lines as separate dispatchable locations.
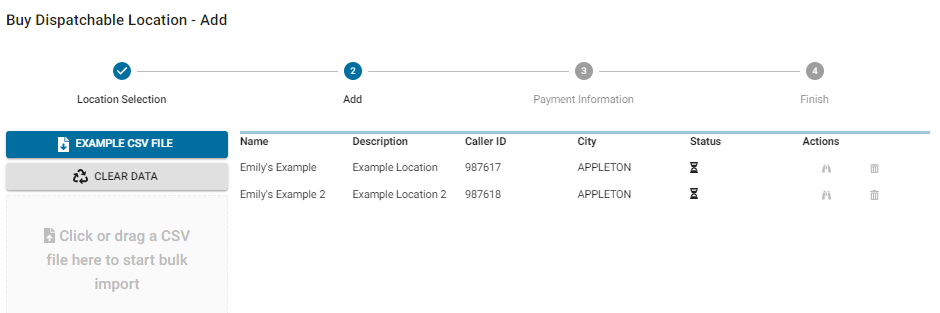
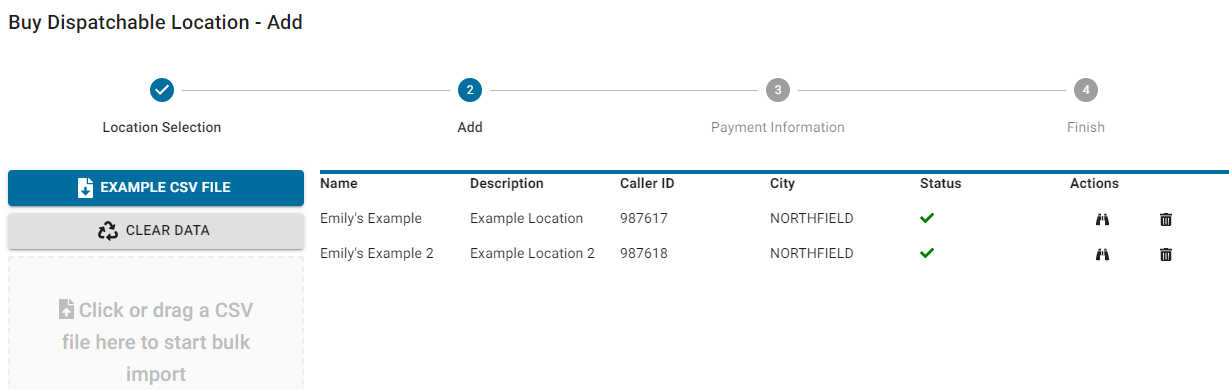
- Once it has everything uploaded, you should see the “Status” go from an hourglass to a green check mark if all is correct.
- If it turns from an hourglass to a red triangle, then there were issues uploading it. There should now be an option to “Fix Problems” at the bottom of the popup window.
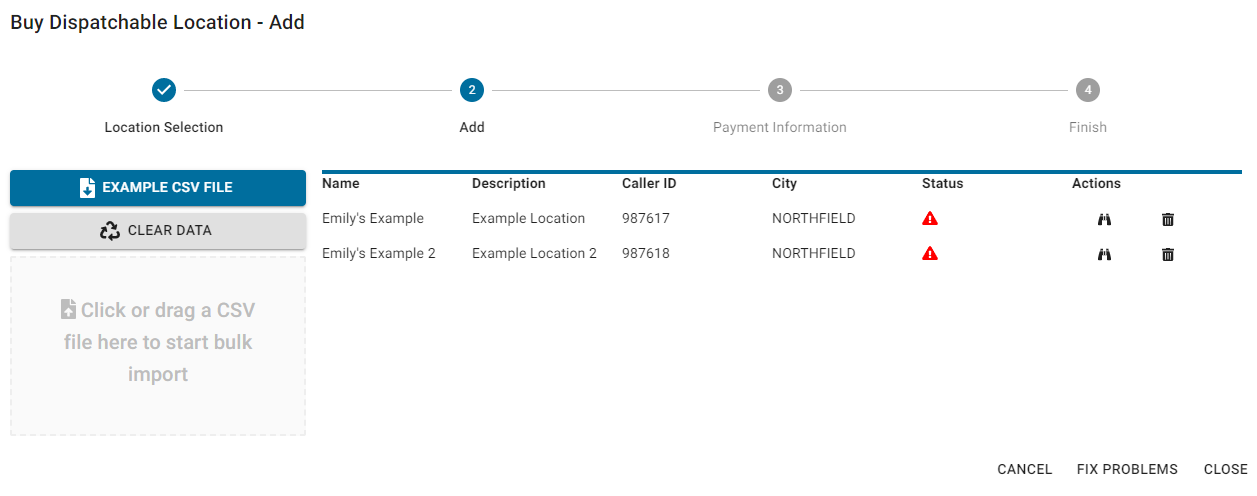
Click on the “Fix Problems” button to see what the issues are and to fix them. - Once you are seeing all green checkmarks, you will see the “Add All” button at the bottom where the “Fix Problems” was. Click the “Add All” button to add them all to your location and go through the rest of the setup wizard to complete the process as you would for adding individual Dispatchable Locations!